Format and Edit Sequence Diagram Layout
R2026bAfter authoring sequence diagram interactions, you can format elements for visual clarity, arrange the layout for readability, and add annotations to communicate design intent. Formatting and layout changes are purely visual — they do not affect simulation behavior or model semantics.
For information on authoring sequence diagrams, see Author Sequence Diagrams Interactively.
Format Sequence Diagram Elements
Since R2026b
Use the Format section on the Sequence Diagram tab to apply visual formatting to diagram elements.
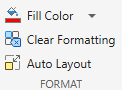
Fill Color
Select one or more elements and click Fill Color to set the background color using a color picker. Fill color applies to these element types:
Lifelines
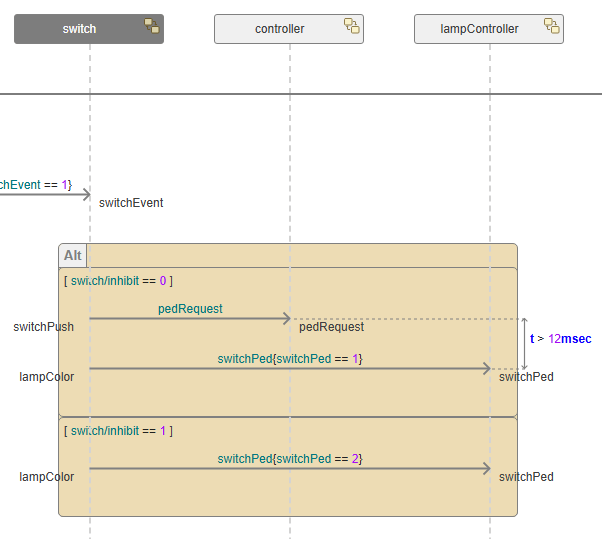
Combined fragments such as alt, loop, and opt fragments
Reference fragments
Operands
Events
Gates
Messages
Clear Formatting
Select one or more elements and click Clear Formatting to reset them to their default appearance.
Elements with Automatic Styling
The following elements use automatic styling. The formatting options on the toolstrip do not affect these elements:
Message label conditions such as triggers, guards, and constraints and duration constraint expressions — these use automatic syntax highlighting. For more information, see Add Messages.
Annotations — no toolstrip styling support.
All formatting changes support undo and redo. System Composer preserves fill colors when you export the sequence diagram to SVG.
Auto Layout
Click Auto Layout to arrange diagram elements for readability. Auto Layout repositions lifelines, messages, and fragments to reduce visual clutter without changing the interaction semantics.
Edit Layout Manually
Since R2025a
To enhance readability, you can manually edit the layout of your sequence diagrams.
Reposition lifelines, fragments, and messages — Click and drag elements to adjust their horizontal and vertical positions relative to other elements.
Resize lifelines — Click the edge of a lifeline and drag your cursor.
To adjust the size of a lifeline based on its content, right-click the lifeline and select Fit to Content.
Reposition duration constraints — Click and drag duration constraints horizontally to adjust their position.
Add or remove operands — Right-click inside an operand and select one of these options: Insert Before, Insert After, or Delete. The Delete option removes only the selected operand, not the fragment.
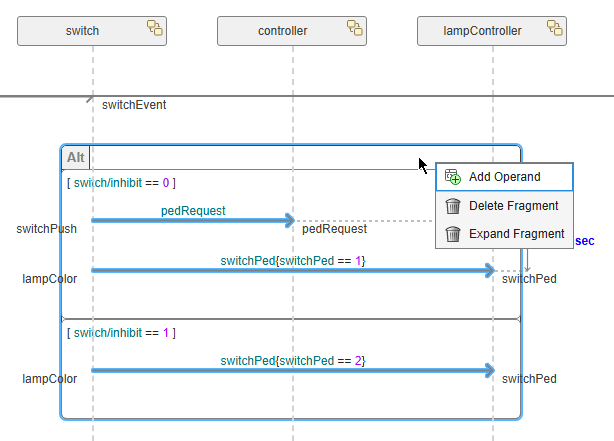
Delete or expand a fragment — Right-click the fragment header or frame and select one of these options:
Delete Fragment — Removes the fragment, all operands, and all contents inside, including messages, nested fragments, and annotations.
Expand Fragment — Removes the fragment frame and operand containers but preserves the messages and nested fragments inside. Use this option to unwrap a grouping while keeping the interactions inside intact. The internal content moves to the parent container at the same position in the diagram.
Tip
When you reposition elements using arrow keys, you can accelerate the movement by pressing Ctrl while pressing the arrow keys.
Annotate Sequence Diagrams
An annotation describes the elements of a sequence diagram. Use annotations to provide detailed explanations of elements or workflows captured by sequence diagrams.
To create an annotation, double-click the canvas. In the text box that appears, enter the annotation text. In the following example, an annotation beside an alt fragment provides a brief explanation of the fragment.
To associate annotations with sequence diagram elements, link an annotation to a message, message end, composite fragment, or lifeline tail. Click and drag a line from the annotation to the element. When the element moves, the annotation follows. Resize annotations by clicking and dragging the corners of the annotation.

