Create Templates for Standard Project Settings
In a project, use templates to create and reuse a standard project structure. Templates help you make consistent projects across teams. You can use templates to create new projects that:
Use a standard folder structure.
Set up a company standard environment, for example, with company libraries on the path.
Have access to tools such as company Model Advisor checks.
Use company standard startup and shutdown scripts.
Share labels and categories.
You can use templates to share information and best practices. You or your colleagues can create templates.
Create a template from a project when it is useful to reuse or share with others. You can use the template when creating new projects.
Create Template from Current Project
In a project, when you create a template, it contains the structure and all the contents of the current project, enabling you to reuse scripts and other files for your standard project setup. You can choose whether to include the contents of referenced projects in the template.
Before creating the template, create a copy of the project, and edit the copy to contain only the files you want to reuse. Use the copy as the basis for the template.
Note
If the project is under version control, see instead Create Template from Project Under Source Control.
On the Project tab, in the File section, select Share > Simulink® Template.

In the Create Simulink Template dialog box, edit the title and author, select or create a group, and add a description to help template users.
By default, the template exports the Whole Project.
If you want to exclude some project files from the template, in the Project panel, right-click unwanted files and select Remove from Project. Alternatively, you can create an export profile to exclude files by label. For more information, see Create an Export Profile.
If you have referenced projects and want to export the referenced project files, in the Project References section, select Include all.
Click Save As. Choose a file location and click Save.
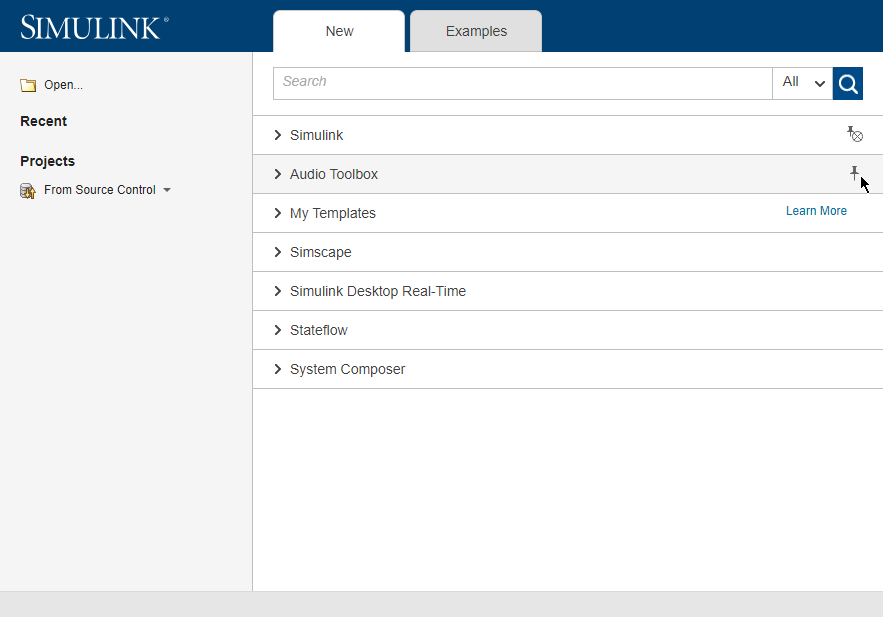
In R2025a: You can pin a group of templates to appear first in the available template groups. If you pin more than one group, Simulink orders them by the most recently pinned. Simulink orders all the other template groups alphabetically.
Create Template from Project Under Source Control
Get a new working copy of the project. For more information, see Clone Git Repository in MATLAB and Work with Files Under SVN in MATLAB.
Remove the files that you do not want in the template. For example, you might want to reuse only the utility functions, startup and shutdown scripts, and labels. In the Project panel, right-click unwanted files and select Remove from Project.
Warning
Do not commit changes to your project that you only use for the template.
On the Project tab, in the File section, select Share > Simulink Template and use the dialog box to name and save the file.
To verify that your template behaves as you expect, create a new project that uses your new template. See Create New Project Using Templates.
Edit Template
Create a new project that uses the template you want to modify. See Create New Project Using Templates.
Make the changes.
On the Project tab, in the File section, select Share > Simulink Template.
Use the dialog box to create a new template or overwrite the existing one.
Remove Template
To remove a template from the Simulink start page:
Browse to the template location specified in the template details.
Delete the template or move it to another location.
Explore Example Templates
You can use the example templates as example structures for a new project.
You can explore the templates using the Simulink start page. To search for templates, use the start page search box. See Create New Project Using Templates and Create Project from Existing Folder.